Are you looking for an easy way to make delicious backpacking meals? Dehydrating your own ham is a great way to save money and make your own light, easy-to-carry meals. It’s also a great source of protein and a lightweight snack. This guide will show you how to dehydrate your own ham at home to add this versatile ingredient to your food plans.
Why Dehydrate Ham?
Dehydrating your own ham is a great way to save money and add variety when planning your backpacking meals. Dehydrating ham allows you to safely store it at room temperature for up to several weeks. While you can carry single-serving packages of meat, the extra water weight of these packages adds up on a long trip. Dehydrated meat is much lighter and can save significant weight in your pack.

Best Type of Ham for Dehydrating
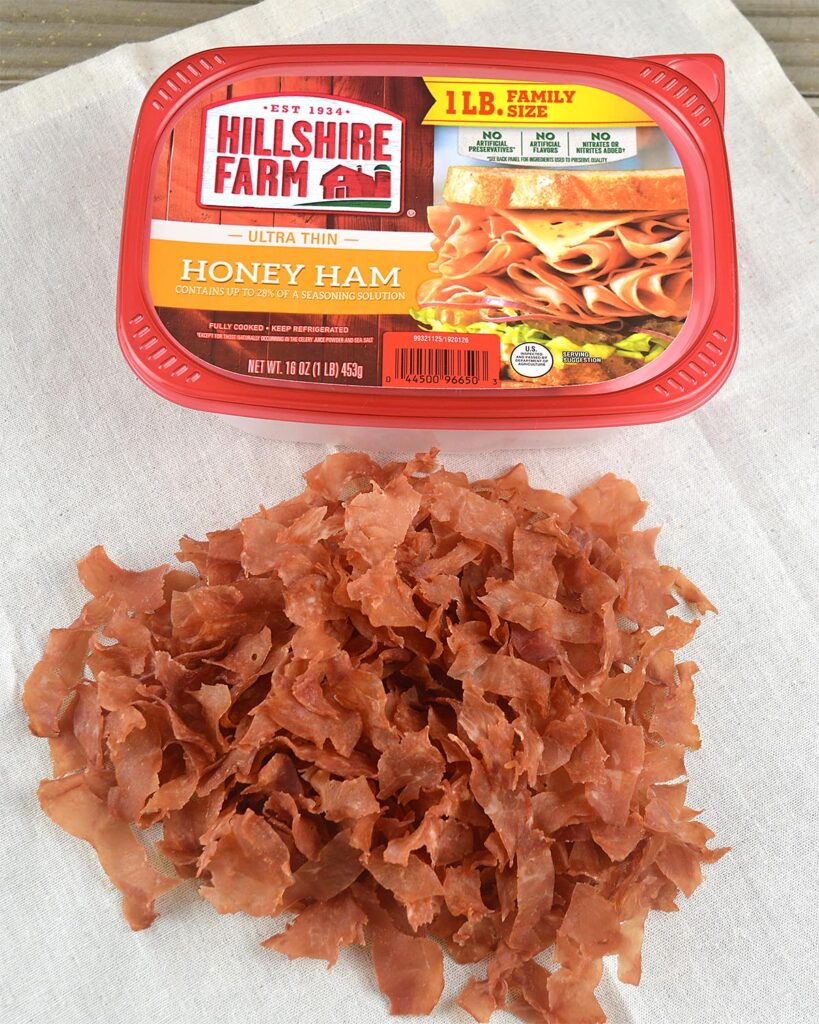
When dehydrating your own ham, I recommend using ultra-thin sliced deli ham which is also available pre-packaged. This is the type of ham used for making sandwiches or for eating as is. Deli-sliced ham is a great choice as it will dehydrate and rehydrate well. The slice thickness will affect the time it takes to rehydrate, so I prefer to use the thin slices (the thinnest available). Choose any flavor you prefer, such as honey, black forest, smoked, or peppered.
If slicing solid regular ham, use a meat slicer or have the deli slice it for you at the grocery store. A food processor will work in a pinch. Cut the ham into smaller pieces that will fit into the chute and then chill it in the freezer for 20 minutes for best results.

Do You Need to Cook Ham Before Dehydrating?
Many instructions will tell you to cook raw meats before dehydrating them. However, this is unnecessary when dehydrating with a food dehydrator at the appropriate temperature. USDA guidelines for pork recommend heating the meat to at least 145 degrees Fahrenheit internally for several minutes. As long as you are dehydrating with heat at this temperature or higher, you are safe. In addition, ham is typically preserved with a dry cure or brine of salt and nitrites, so you have an extra layer of safety from the preservatives.
If you air dry at a low temperature outside the dehydrator, be sure to cook the meat first to kill bacteria.
Ham Jerky or Ham Chips?
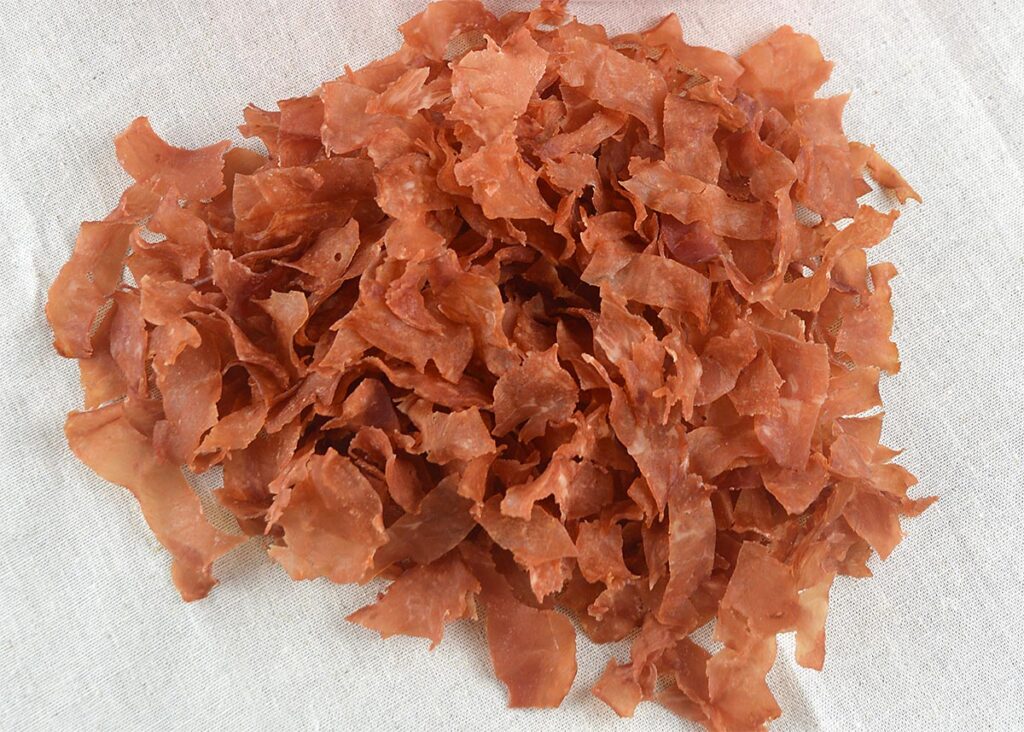
While you can dehydrate thicker ham slices into a jerky (like beef jerky), thin ham will dry as brittle crunchy chips. Imagine very thin crispy bacon to get a good comparison. These make a tasty snack and are easy to break up into small pieces if you are adding them to meals.
Dehydrating Other Deli Meats
The instructions in this guide will work for other thin sliced deli meats, such as turkey or roast beef. These meats lack the salt and flavors of bacon, so consider finding a marinade, jerky recipe, or add seasonings if you want to eat them as snacks rather than rehydrating them in meals.
Plan Your Ham Portion Sizes
Before you dehydrate any food, it’s helpful to think about the portion sizes you want to eat later. The dehydration process will reduce the weight and size of the ham, so it can be difficult to judge how much to pack for each meal. Either divide the ham into portion sizes before dehydrating or weigh a portion. Three ounces of ham will dry to about one ounce, so you should measure ⅓ of the weight for each serving after it’s dehydrated.
Instructions—Dehydrating Your Ham
To dehydrate your own ham, follow these steps:
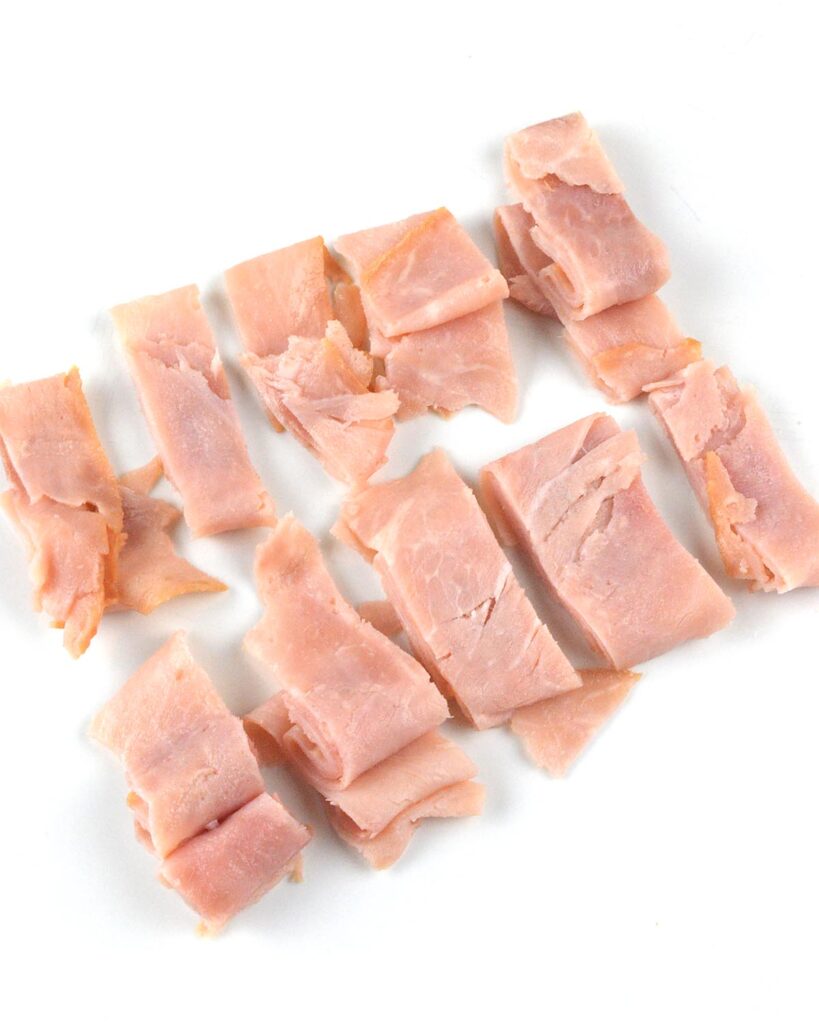
1. Cut your ham slices into strips about 3/4 to 1 inch wide. When using thin ham, you don’t need to separate or flatten the slices before cutting. Just bunch up several slices as shown in the photo above and make the cuts approximate.
2. Line dehydrator trays with parchment paper (optional). The paper will absorb oil from the ham as it renders and help keep the strips flatter as they dry. I didn’t use this step in the photos taken for this article.

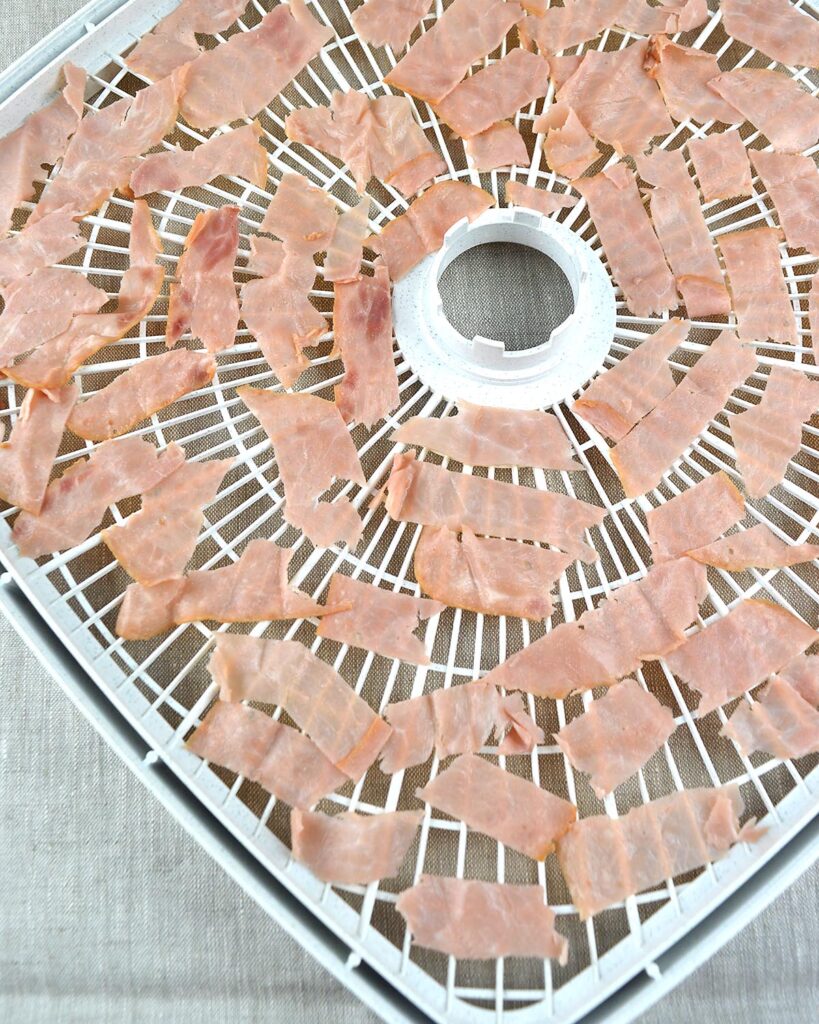
2. Spread the strips on your food dehydrator trays in a single layer. I made one batch with the strips several inches long, and another with the strips torn into smaller pieces. Note that the ham will shrink when drying, so don’t worry if the pieces touch.
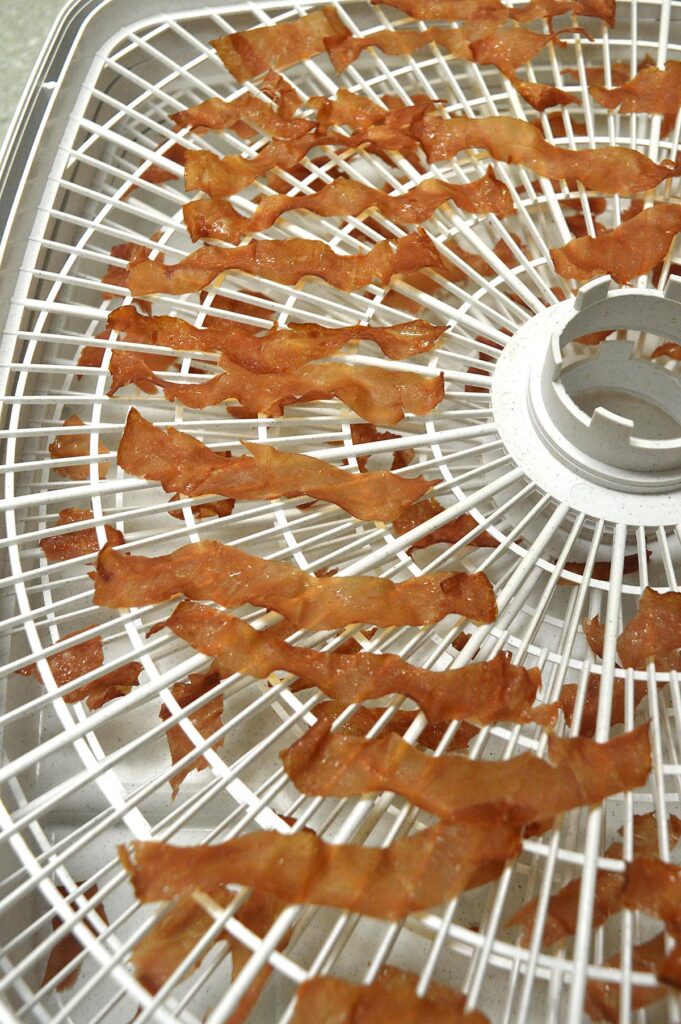
3. Dry at 145 to 160 F for 3-4 hours, or until the ham is dry and brittle. Lower temperatures help retain more flavor in the meat.
If using an oven, place the ham on parchment paper on a sheet pan, and use the lowest temperature on your oven (must be 145F or higher).
4. Blot the dehydrated ham with a paper towel to remove excess fat which has rendered out of the meat. This is optional (it’s very difficult to remove all of it). I gently toss the dried meat in a large bowl lined with paper towels to get most of it off.
Storing Dehydrated Ham
Once your ham is dry and brittle, it is important to store it properly. Like all dried foods, be sure to choose an airtight container. Consider that while the dried ham is lighter and technically smaller than the raw meat, it packs like potato chips or spiral pasta – with lots of air space.
For immediate use – If you are ready to head out on a long hike, store the dried ham in an airtight plastic bags and keep it in a dark and dry place as much as possible. The ham will crush easily and will puncture thin bags easily so I like to keep it in a separate mylar bag rather than combining it with other dehydrated meals. When stored in a bag like this, expect a shelf life of about 2 weeks.
For long term storage – Nothing beats the freezer or refrigerator for maintaining flavor and extending shelf life for a long time. If cold storage isn’t an option, store anything you won’t eat within about 2 weeks in vacuum-sealed mason jars or mylar bags with oxygen absorbers. I don’t recommend vacuum packaging in bags unless you want ham bits and bags with holes. Keep the container in a cool, dark, and dry place.
Using Dehydrated Ham
Once your ham is dehydrated and stored properly, there are several ways to use it. Here are some of the best ways to use your dehydrated ham alone or with other dehydrated foods.
Use Dry Ham as a Snack or Topping
Dried ham is a great snack on its own, or you can use it as a topping for salads or other dishes. I like to crush it and add it on top of pasta for a change of texture.
Rehydrate Ham in Cold Water
To use the ham in sandwiches or salads, you can rehydrate it in cold water. Because the ham is cooked during the dehydration process, it will have a chewy texture. Enjoy the ham with some cheddar cheese and a tortilla for
For a simple ham salad, rehydrate 1 oz of dried ham and a spoonful of freeze-dried celery. Combine with 1-2 packets of mayonnaise plus a packet of pickle relish. Eat with crackers or a tortilla for a simple lite lunch.
Add to Hot Meals
Dehydrated ham can also be added to hot dishes such as soups, pasta, or rice dishes. To rehydrate, just add the ham to the dish along with other dried ingredients, add boiling water, and wait 10-15 minutes. If cooking pasta or instant rice, add the ham to the water at the same time as the starch. Alternately, add crushed dried ham on top for a crunchy topping. This is a good way to get more variety of texture into your meals.
For another idea, combine the ham with other meats you may normally use such as chicken or summer sausage. I enjoy ham or bacon with chicken in alfredo pasta (recipe coming soon!). The savory flavor will add variety to your meals when out on longer trips.
Conclusion
Dehydrating your own ham is a great way to make delicious backpacking meals. It is an easy process that requires little preparation, and the results will last for weeks. With this guide, you can make your own delicious, lightweight backpacking meals with ease!
Learn More about Dehydrating
Check these other articles to dehydrate other foods:
How to Make Delicious Bacon Jerky in the Dehydrator or Oven
How to Dehydrate Pasta for Backpacking or Instant Meals

